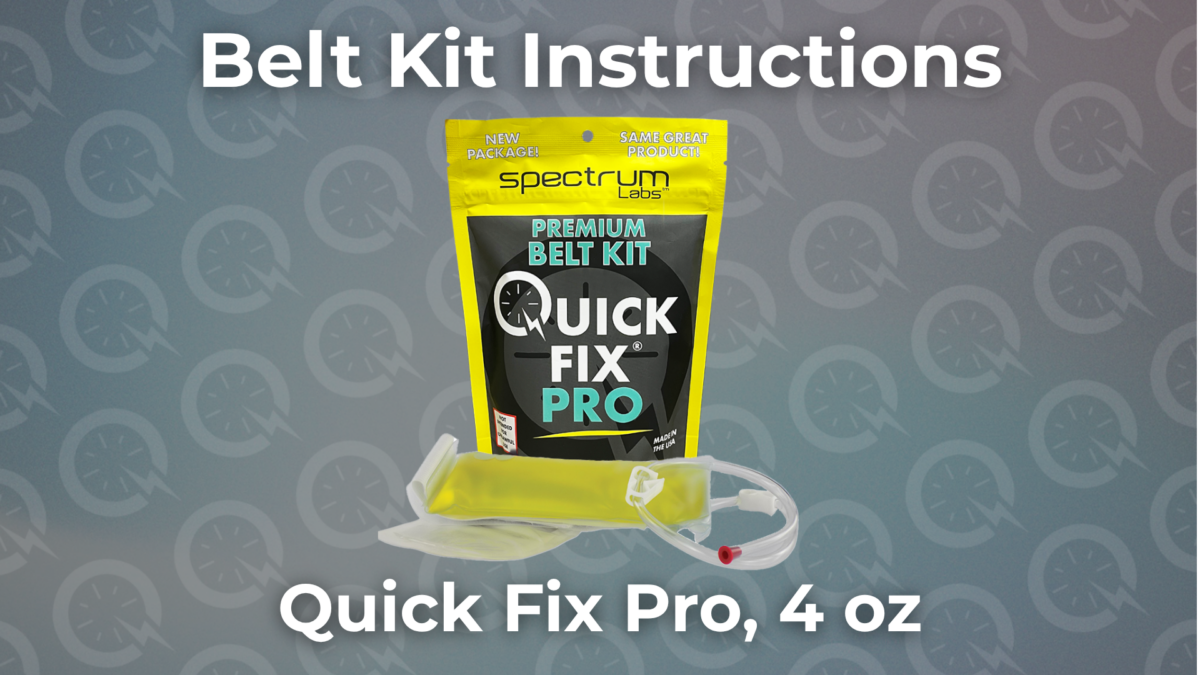
How to Use Quick Fix Pro Belt Kit with Bladder – 4 Ounce
Review the pouch instructions before use and be sure to verify the batch code if you did not purchase it directly from QuickFix.com. Find the unique Batch Code printed on the bladder. The integrated temperature strip and adhesive heat pack assist with preparation and monitoring. Keep the kit stored in a cool, dry location until needed.
Inspect the belt kit. Make sure the tube attached to the bladder is not kinked so that liquid can drip out. No leaking should happen until it is released for use, please contact customer support if the bladder is leaking anywhere.
Detailed Directions
Assuming the batch validator has verified your batch code and says it is not expired, therefore are ready to use:
1. Place the bladder (with belt, tube, and tube cap still connected) in the microwave for 10 seconds. If you would like to use the fake urine within 10 minutes, no need to attach the adhesive hand warmer. Be sure the temperature strip reads 98 degrees Fahrenheit before use.
The temperature strip will appear green around 98°F. It can also appear green between 96° – 100°. If the temperature strip is orange on the 96° and 100° while showing green on 98°, that is also good.
2. After microwaving, unwrap the adhesive hand warmer and shake to activate. Stick the hand warmer away from temperature strip so you can monitor temperature properly. Do not let the handwarmer stay on skin for extended periods due to mild burn risks. Keep both clamps on until ready to use. You may leave cap on until use or remove after attaching belt. The double clamps prevent leaking.
3. With the bladder and heat pad steps complete, you may now place the bladder around your waist, or over an undershirt. Be sure to attach the belt kit around the waist so that the tube is facing the front.
When the tube is in a comfortable position under pants or underwear, make sure the end of the tube is in a realistic position to simulate realism.
4. When ready for use, be sure to shake the bladder and verify the temperature is close to 98°F and the cap on the tube is off.
5. Unclamp the one closest to the bladder. Aim tube. Unclamp second clamp which will be closest to the end of the catheter tube.
6. Let gravity drain the liquid for you! If you want a faster flow, or if the flow is going slower due to a small kink – then squeeze or push on the bladder with the hand that is not aiming the tube.
7. When complete, clamp the second one closed again. Shake excess off tube while aiming in the same direction of the pour to reduce mess.
8. Tuck tube back in pants.
9. Dispose of used Belt Kit.
Instruction Recap
Here is a quick summary on how to use the Quick Fix Pro Belt Kit because it can be overwhelming at first. Feel free to call or email our customer service team for more help at 800-721-1414 or [email protected]
- Step 1 – Inspect Contents: Confirm that the bladder, strap, temperature strip, dispensing tube, and heat pack are present and sealed.
- Step 2 – Prepare Temperature Components: After microwaving the bladder kit for 10 seconds, activate the included adhesive heat pack by opening its wrapper and exposing the pad to air. Attach on the bladder away from temperature strip and skin.
- Step 3 – Monitor Temperature: Use the built-in temperature strip to check the range during handling and transport. Keep around 98 degrees
- Step 4 – Secure the Strap: Adjust the strap to for a comfortable, stable fit. Best on waists 30″ – 40″
- Step 5 – Use: Remove Tube cap and unclamp both clamps when ready to use. Re-clamp to stop flow.
Place tube back into pants until ready to remove and dispose.
Safety & Warnings
Heat packs offer steady warmth for short-term use. Avoid placing them directly on sensitive skin for extended periods. Stop using the product if irritation develops. Store in a cool area away from direct sunlight and excessive heat. Keep out of reach of children and pets, use in accordance with all applicable laws and policies.